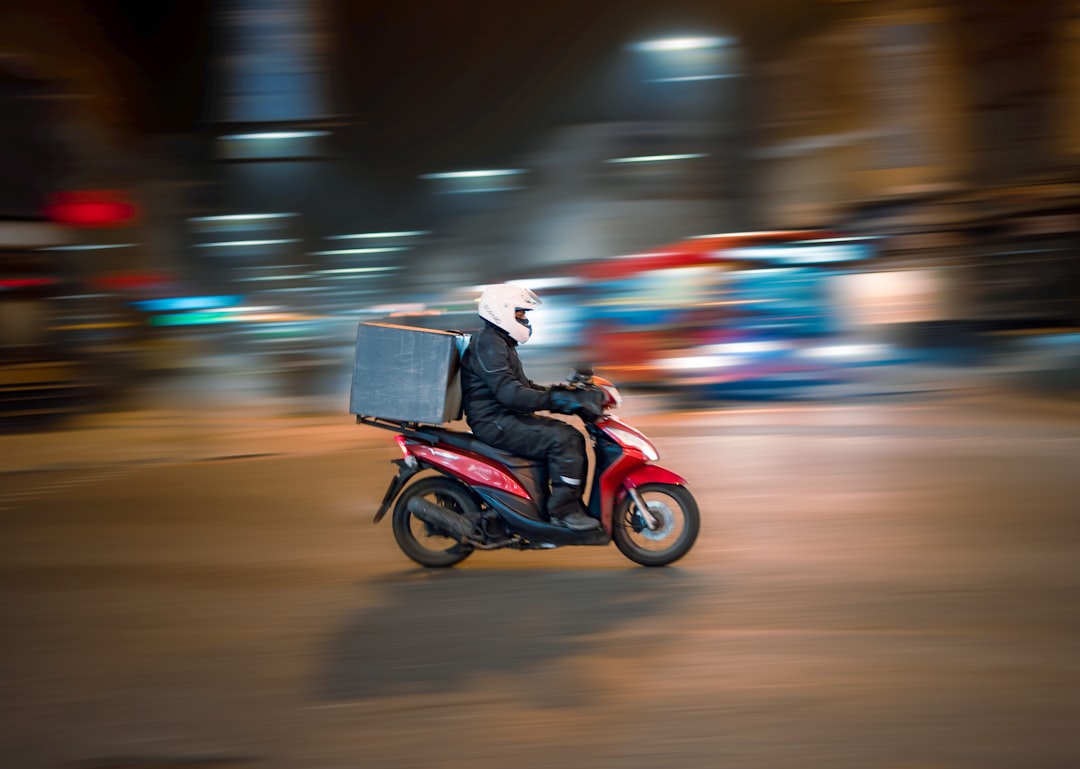
Choosing a motorcycle helmet is less about finding the most expensive model and more about getting the right fit, approval markings, riding style, and condition. This practical checklist explains how to compare full-face, modular, open-face, and dual-sport helmets, then double-check fit, visibility, ventilation, communication compatibility, and replacement timing before you buy.
Overview
A helmet should sit securely, cover the areas it is designed to protect, and remain comfortable enough that you will wear it on every ride. A poor fit can be distracting and may allow the helmet to move during a crash, while an unsuitable design can leave you dealing with excessive heat, wind noise, or limited visibility.
Start by defining how and where you ride. A city scooter commuter may prioritize ventilation, an easy-to-use visor, and low-speed convenience. A sportbike rider may place greater emphasis on a full-face shell, stable aerodynamics, visor clarity, and secure retention. Riders who tour, travel on mixed surfaces, or regularly carry a passenger may have different requirements again.
Before comparing colors or accessories, check three basics:
- Approval: Look for the safety certification or approval required in the country or region where you will ride. Labels and legal requirements vary, so confirm the current rule with the relevant local authority or the helmet manufacturer.
- Fit: The helmet should be snug and even around your head without creating sharp pressure points.
- Condition: Do not buy a helmet with unknown crash history, visible damage, missing parts, or questionable storage history.
A helmet is one part of a broader motorcycle gear system. Pair it with appropriate gloves, footwear, and protective clothing; our guides to scooter gloves and summer riding jackets can help complete that setup.
Checklist by scenario
Full-face helmet
A full-face helmet covers the head, sides, back, and chin area. It is a sensible starting point for many sportbike and faster-road riders because it provides continuous coverage and usually offers the strongest control over wind exposure. Check that the eye port gives you a broad, unobstructed view in your normal riding position. Test the visor, vents, and chin-bar operation while wearing gloves if possible.
Modular helmet
A modular helmet can be convenient for touring, commuting, and riders who need easier access at stops. However, designs differ in how they may be used when the front is raised. Read the manufacturer’s instructions and local requirements rather than assuming every modular helmet is approved for every configuration. Inspect the hinge, locking mechanism, visor seal, and chin-strap operation carefully.
Open-face helmet
Open-face designs can suit low-speed urban riding and riders who prefer an open feel, but they do not provide the same coverage as a full-face design. If you choose one, consider how you will protect your eyes and face from dust, rain, insects, and wind. A secure visor or well-fitting riding eyewear may improve comfort, but it does not change the helmet’s coverage.
Dual-sport or adventure helmet
Dual-sport helmets are intended to balance road and light off-road use. Decide whether you need a peak, goggles compatibility, a clear visor, or space for communication equipment. Peaks can affect wind behavior, while aggressive ventilation layouts may increase noise. If most of your riding is on pavement, compare the helmet’s road manners rather than choosing by appearance alone.
Fit test for every design
- Measure your head according to the manufacturer’s instructions, usually around the widest part of the head above the eyebrows and ears.
- Use the measurement as a starting point, not a guarantee. Sizes and internal shapes vary between brands and models.
- Put the helmet on without forcing it over your ears. The liner should make firm, even contact.
- Keep it on for at least several minutes. Watch for concentrated pressure at the forehead, temples, or back of the head.
- Fasten the retention system correctly. With the strap secured, the helmet should not roll easily forward, backward, or side to side.
- Move your head normally and check that the helmet stays stable without blocking your view.
What to double-check
Safety markings and documentation: Confirm that the helmet carries the approval marking required for your riding location. Buy from a reputable seller, retain the receipt, and check the packaging and model documentation. If the marking, model identity, or seller information is unclear, choose another product.
Visibility: A clear primary visor is generally the most versatile choice. Check how easily it opens, whether it seals evenly, and whether replacement visors are available. Tinted or mirrored visors may be useful in bright conditions, but confirm when and where they are permitted and carry an appropriate alternative for changing light.
Ventilation and climate: Open and close every vent. Make sure airflow reaches the areas you expect and that the controls are usable with gloves. For hot-weather commuting, ventilation and moisture management may matter more than a quiet interior. For cold or wet conditions, examine visor sealing and the availability of compatible anti-fog solutions.
Noise and comfort: Helmet noise depends on the design, motorcycle, windscreen, fit, and riding position. Do not rely solely on a product description. Properly fitted earplugs can help reduce harmful wind exposure, but you must still be able to hear important traffic cues. Check liner softness, cheek-pad pressure, glasses compatibility, and the weight distribution.
Communication equipment: If you use an intercom or navigation system, check whether the helmet has room for speakers, a microphone, and the preferred mounting method. Avoid modifying the shell, liner, or retention system unless the manufacturer specifically permits it.
Replacement parts: Before purchase, check whether cheek pads, liners, visors, vents, and fasteners can be replaced. Replaceable parts can help maintain fit and usability as the helmet ages.
Common mistakes
- Choosing by size label alone: A medium in one model may not fit like a medium in another. Head shape matters as much as circumference.
- Buying a helmet that feels loose for comfort: The liner may compress slightly with use, so an initially loose helmet can become unstable.
- Ignoring the retention strap: The strap is part of the fit system. Learn how it works and use it every ride.
- Prioritizing appearance over coverage: Graphics and finish are personal choices; they should come after approval, fit, visibility, and intended use.
- Assuming expensive means suitable: A premium helmet can still be the wrong shape, too noisy for your route, or incompatible with your riding position.
- Buying used without a verifiable history: Hidden impact damage, age, heat, chemicals, and poor storage may not be obvious. A used helmet should only be considered when its history and condition are trustworthy.
- Continuing to use a damaged helmet: Do not keep riding in a helmet that has been involved in a crash or shows cracks, crushed liner material, damaged straps, degraded padding, or unreliable visor hardware.
When to revisit
Revisit this checklist whenever you buy a helmet for yourself or another rider, change from scooter commuting to sportbike riding, add a passenger, or move to a different climate. Seasonal changes are useful reminders to inspect the visor, vents, liner, and anti-fog setup before temperatures or rainfall shift.
Replace a helmet after a crash or significant impact, even if the outside appears acceptable. Also review the manufacturer’s replacement guidance as the helmet ages, because liners, adhesives, retention components, and materials can deteriorate through use, storage, sweat, heat, and chemicals. Do not treat a general age recommendation as a substitute for the manufacturer’s instructions or an inspection of the actual helmet.
Before your next purchase, save this short action list: measure your head, identify the shape that fits, confirm the required approval, try the helmet on for several minutes, test the strap and visor, check ventilation and communication needs, inspect replacement-part availability, and buy from a seller with a clear return policy. Once the helmet arrives, repeat the fit check at home before removing tags or using it on the road. For broader ownership planning, review related maintenance and operating guidance such as our sportbike ownership cost guide and keep your protective equipment inspection on the same calendar as your regular service checks.